If you have been reading my blog for any length of time, you know that Emily is a tomboy at heart. The girl loves all things superheros. She had a little collection of superhero t-shirts and I thought they would make a cute blanket.
I asked her if she wanted me to make a blanket out of all of her shirts. She was against that idea. But, then I found a picture of one on Pinterest that looked really cute. The minute I showed her the picture, she was all for me doing a blanket for her. She kept bugging me about it. The problem was that I needed to buy some fabric. I do that sort of thing in the States because I have trouble finding cute fabric here.
So, I got some fabric and the first week we were back, I decided to get her blanket done. The first thing I did was to get all the fabric that I want to use. Then, I had to figure out the layout of the blanket and get the dimensions that I needed to cut the fabric.
You can see the picture below is how I quickly layout the design of the blanket. I try to do simple designs. I have confessed before, I hate the sewing and cutting part. I just like the end product. And, making these girls of mine happy, that is the best part.
I cut out each of the t-shirts and sewed them onto a piece of fabric. I was already liking how it looked.
I got all the other pieces cut and sewed together. I was happy with the fabric selection. I tried to find ones that were cute and not girly, but not too boyish looking.
I sewed the back piece on and it was finished! She loved it!
This all happened right before I got my Christmas decorations out. I saw some of this material and thought it would make a great little Christmas pillow. So, I threw one together.
The girls were in love with it and requested a pillow for each of them. I didn't do Christmas ones. Instead, I did ones that could be in their room year round. Here is Bella's. Nothing fancy, but it sure is soft and cute! I just love the orange and pink flower fabric.
And, Emily had picked out some owl fleece while we were at Hancock Fabrics. I used that for her pillow and some of the fabric from her blanket. Cute, huh?
I have lots of fabric left over. I'm going to have to make some more stuff!
Showing posts with label projects. Show all posts
Tuesday, December 11, 2012
Friday, November 30, 2012
we started kindergarten!
***Updated -- I added pictures of us using the stamps!***
I got the packages of our school books and workbooks in the mail last week. And, I got busy planning our year and was able to get us started on our Kindergarten year this week. So, we are official Kindergartners. Exciting, yeah? Of course!
I'm a little intimidated because this year I am teaching these girls how to read. Please, let it be not as horrible as I am thinking! Time will tell, right?
The girls were excited to get started with school again. We had taken a 6 week break. I think we all needed that break.
I have started having an incentive a few times a week for them. Art projects are the incentive. Easy, right!? They know if they are listening and following directions during school, they get to do the fun art project that I have planned.
Today, I had to do the first part of the project before our actual school work. We have to let our project dry before we can use them. I got this idea from the crafty Julie! She is always coming up with fun things to do. Check out hers here.
We made stamps! Fun! I loved it just as much as the girls.
Some foam paper, scissors, hole punch, glue, and wooden blocks equals a fun time and lots of stamps for really cheap!
Bella showing me her favorite stamp. She saw me make one and wanted to do the same.
Emily deep in her thoughts. She didn't end up using any of the pieces she cut. I cut out everything for them in advance so the project was more fun for them. You can see on the yellow tray in the first picture there are piles of different shaped pieces. That worked out perfectly. The blocks are small enough that it isn't very easy for them to cut out their own.
Bella in her zone.
Here are all the stamps that Bella made.
I joined in the fun, too. Here are all of mine.
And, here are all of the ones Emily made. Notice that most of hers look like faces. I think that was her intention.
They are drying right now. We will be testing them out here in a little bit!
Here we are using all our made stamps (and some that we already had from the store).
Emily started spelling out words she knew. Very good and educational on her part! Smart girl!
And, so you can see how some of our stamps turned out, here are the ones I made. The project worked really well! I highly recommend you doing this.
Go buy your supplies now! :)
I got the packages of our school books and workbooks in the mail last week. And, I got busy planning our year and was able to get us started on our Kindergarten year this week. So, we are official Kindergartners. Exciting, yeah? Of course!
I'm a little intimidated because this year I am teaching these girls how to read. Please, let it be not as horrible as I am thinking! Time will tell, right?
The girls were excited to get started with school again. We had taken a 6 week break. I think we all needed that break.
I have started having an incentive a few times a week for them. Art projects are the incentive. Easy, right!? They know if they are listening and following directions during school, they get to do the fun art project that I have planned.
Today, I had to do the first part of the project before our actual school work. We have to let our project dry before we can use them. I got this idea from the crafty Julie! She is always coming up with fun things to do. Check out hers here.
We made stamps! Fun! I loved it just as much as the girls.
Some foam paper, scissors, hole punch, glue, and wooden blocks equals a fun time and lots of stamps for really cheap!
Bella showing me her favorite stamp. She saw me make one and wanted to do the same.
Emily deep in her thoughts. She didn't end up using any of the pieces she cut. I cut out everything for them in advance so the project was more fun for them. You can see on the yellow tray in the first picture there are piles of different shaped pieces. That worked out perfectly. The blocks are small enough that it isn't very easy for them to cut out their own.
Bella in her zone.
Here are all the stamps that Bella made.
I joined in the fun, too. Here are all of mine.
And, here are all of the ones Emily made. Notice that most of hers look like faces. I think that was her intention.
They are drying right now. We will be testing them out here in a little bit!
Here we are using all our made stamps (and some that we already had from the store).
Emily started spelling out words she knew. Very good and educational on her part! Smart girl!
And, so you can see how some of our stamps turned out, here are the ones I made. The project worked really well! I highly recommend you doing this.
Go buy your supplies now! :)
Wednesday, October 10, 2012
we're ready!
We are now only two days away from our trip to the States! To say that we are excited is an understatement. We have our calendar for school that we have been marking off the days everyday. Each morning, the girls run out of their room and ask to mark off the day before.
I am very experienced with travelling with these two girls by myself. The first trip we took to the States, let's just say, it was not pleasant! Emily was only 8.5 months and Bella was 23 months. Talk about being overwhelmed. And, our return trip home was very memorable. But, not a memory I ever want to relive.
The girls are 4 and 5 now and much easier to travel with. That doesn't mean that they still don't have their moments...when they are tired, being lazy, or just ready to have the travel part over with.
We leave out of Guadalajara and have a connecting flight in Dallas (Houston in past years). Because making our way through immigration and customs isn't always speedy, and having little ones that don't understand the concept of urgency, I always leave us plenty of time between flights. There have been times that we have had almost 5 hours between flights. So, we always take the "blankies" so a nap can happen during that time. Or, if we get cold on the plane (or sleepy).
It never fails the girls don't want to carry the blankets the entire time. And, you might guess, I have enough to carry without having to carry their blankets.
I came up with an idea to make a blanket holder with a strap. They might exist out there in the world somewhere, but I figured I would make the one from my thoughts. This way, the girls can wear the blankets like a bag. Their hands will always be free. And, in turn, I won't be asked to carry the blankets. A win-win situation.
I had some fleece that I used. I figured that it would be soft enough to be comfortable as a strap. It worked out really well. They aren't the prettiest things because I just threw them together quickly. But, they will definitely do the job. The girls are already excited about using them. They have had their blankets rolled up and in the carrier since I made them yesterday.
These pictures show you how simple the design is. There is definitely no rocket science involved.
You can see the girls are proud to model them. Emily didn't even unroll her blanket last night. If you know Emily and her love for her blanket, you will know how big a deal that is!
Hopefully, our trip goes smoothly!
I am very experienced with travelling with these two girls by myself. The first trip we took to the States, let's just say, it was not pleasant! Emily was only 8.5 months and Bella was 23 months. Talk about being overwhelmed. And, our return trip home was very memorable. But, not a memory I ever want to relive.
The girls are 4 and 5 now and much easier to travel with. That doesn't mean that they still don't have their moments...when they are tired, being lazy, or just ready to have the travel part over with.
We leave out of Guadalajara and have a connecting flight in Dallas (Houston in past years). Because making our way through immigration and customs isn't always speedy, and having little ones that don't understand the concept of urgency, I always leave us plenty of time between flights. There have been times that we have had almost 5 hours between flights. So, we always take the "blankies" so a nap can happen during that time. Or, if we get cold on the plane (or sleepy).
It never fails the girls don't want to carry the blankets the entire time. And, you might guess, I have enough to carry without having to carry their blankets.
I came up with an idea to make a blanket holder with a strap. They might exist out there in the world somewhere, but I figured I would make the one from my thoughts. This way, the girls can wear the blankets like a bag. Their hands will always be free. And, in turn, I won't be asked to carry the blankets. A win-win situation.
I had some fleece that I used. I figured that it would be soft enough to be comfortable as a strap. It worked out really well. They aren't the prettiest things because I just threw them together quickly. But, they will definitely do the job. The girls are already excited about using them. They have had their blankets rolled up and in the carrier since I made them yesterday.
These pictures show you how simple the design is. There is definitely no rocket science involved.
You can see the girls are proud to model them. Emily didn't even unroll her blanket last night. If you know Emily and her love for her blanket, you will know how big a deal that is!
Hopefully, our trip goes smoothly!
Wednesday, September 12, 2012
ceramic mug project
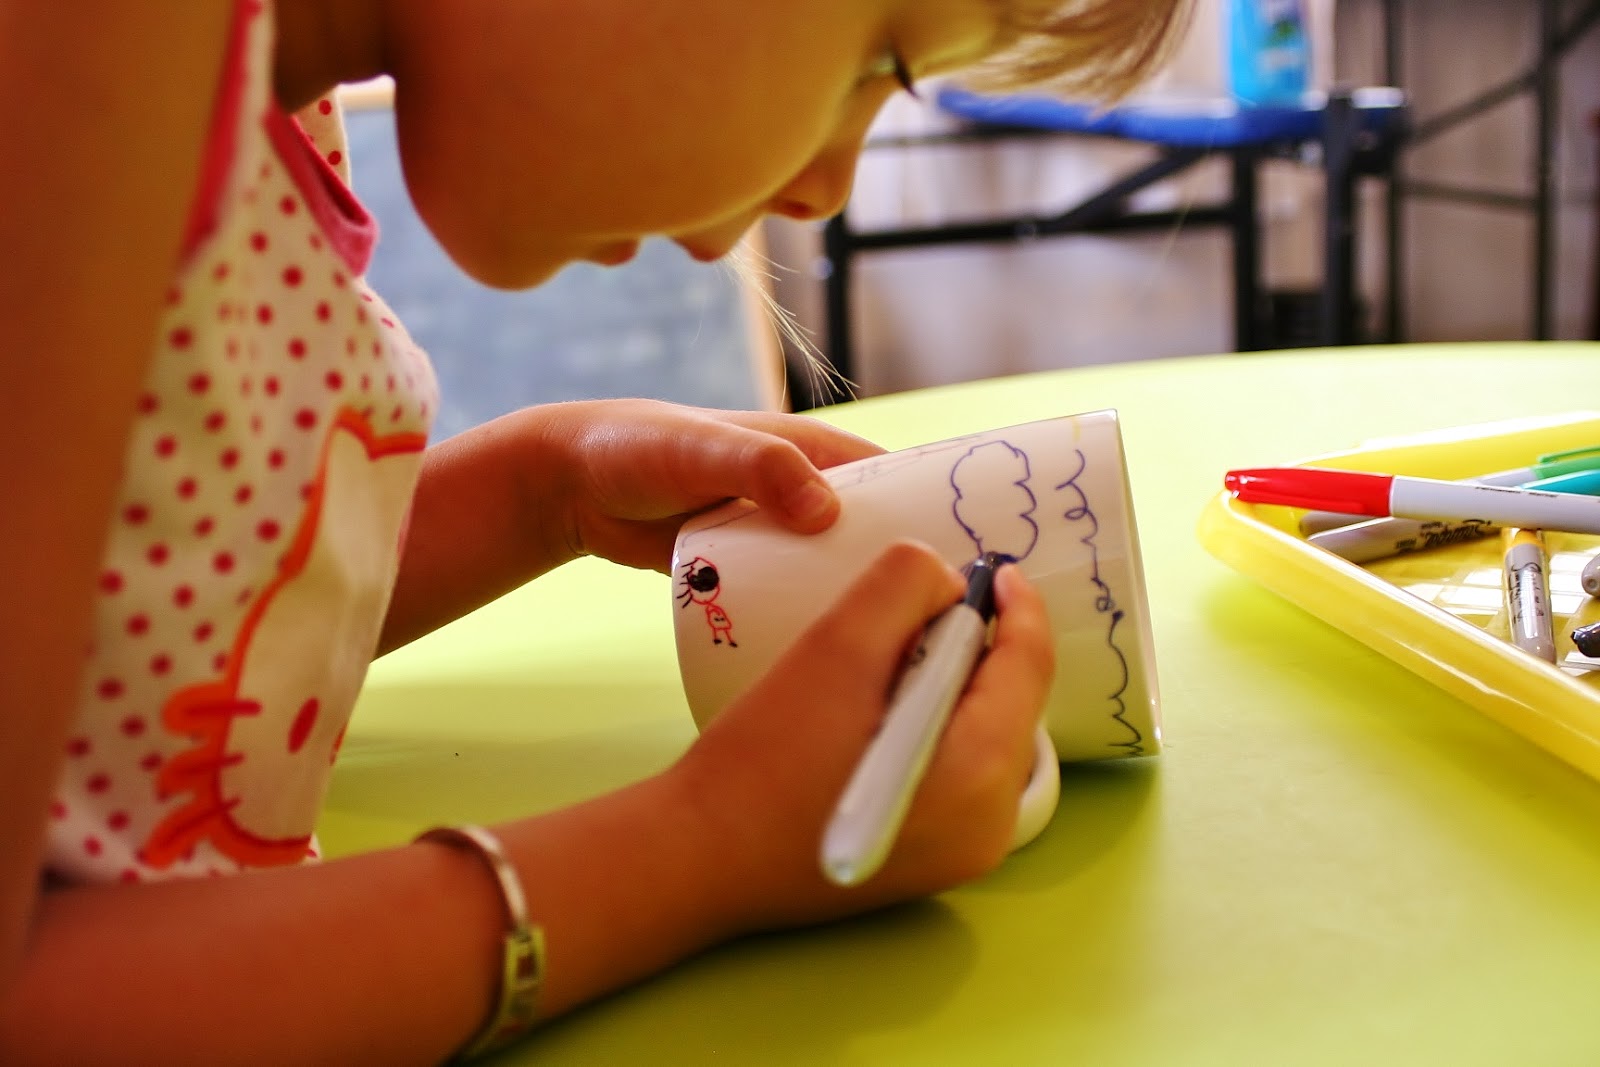
I found a project via Pinterest the other day that I thought would be fun for the girls to do. Buy some white ceramic mugs and sharpie markers and decorate them. How simple! Bake and the markers set.
Now, there were some comments on the site that listed the project that didn't have complete success. But, I'm not really worried about that. A few have said after baking the mugs, the marker still comes off after washing the mug.
Either way, I knew the girls would like it. If after a few washes, the marker comes off, we can just do it again! A never ending colored mug. Sounds like a plan to me. I will just take pictures every time so we can always remember what we colored.
The girls did really well. Just like everything they do, their personalities shine in their styles. I love that the most.
Here are some pictures of the process.
The mugs are cooling off in the oven right now. Hopefully, they keep the drawings on them. Time will tell! The girls are just ready to use them. We are going to have hot chocolate! If you try them, let me know how it worked out for you!
Now, there were some comments on the site that listed the project that didn't have complete success. But, I'm not really worried about that. A few have said after baking the mugs, the marker still comes off after washing the mug.
Either way, I knew the girls would like it. If after a few washes, the marker comes off, we can just do it again! A never ending colored mug. Sounds like a plan to me. I will just take pictures every time so we can always remember what we colored.
The girls did really well. Just like everything they do, their personalities shine in their styles. I love that the most.
Here are some pictures of the process.
The mugs are cooling off in the oven right now. Hopefully, they keep the drawings on them. Time will tell! The girls are just ready to use them. We are going to have hot chocolate! If you try them, let me know how it worked out for you!
Thursday, May 03, 2012
tissue paper bowls
The girls were looking to do something crafty yesterday. So, I opened up my Pinterest homeschool/kids activities file. I had just pinned a new art project that day. It was a great project because, not only did it require only a few items, I had all the items on hand! Plus, it was something that the girls could do all on their own. They like those types of projects best.
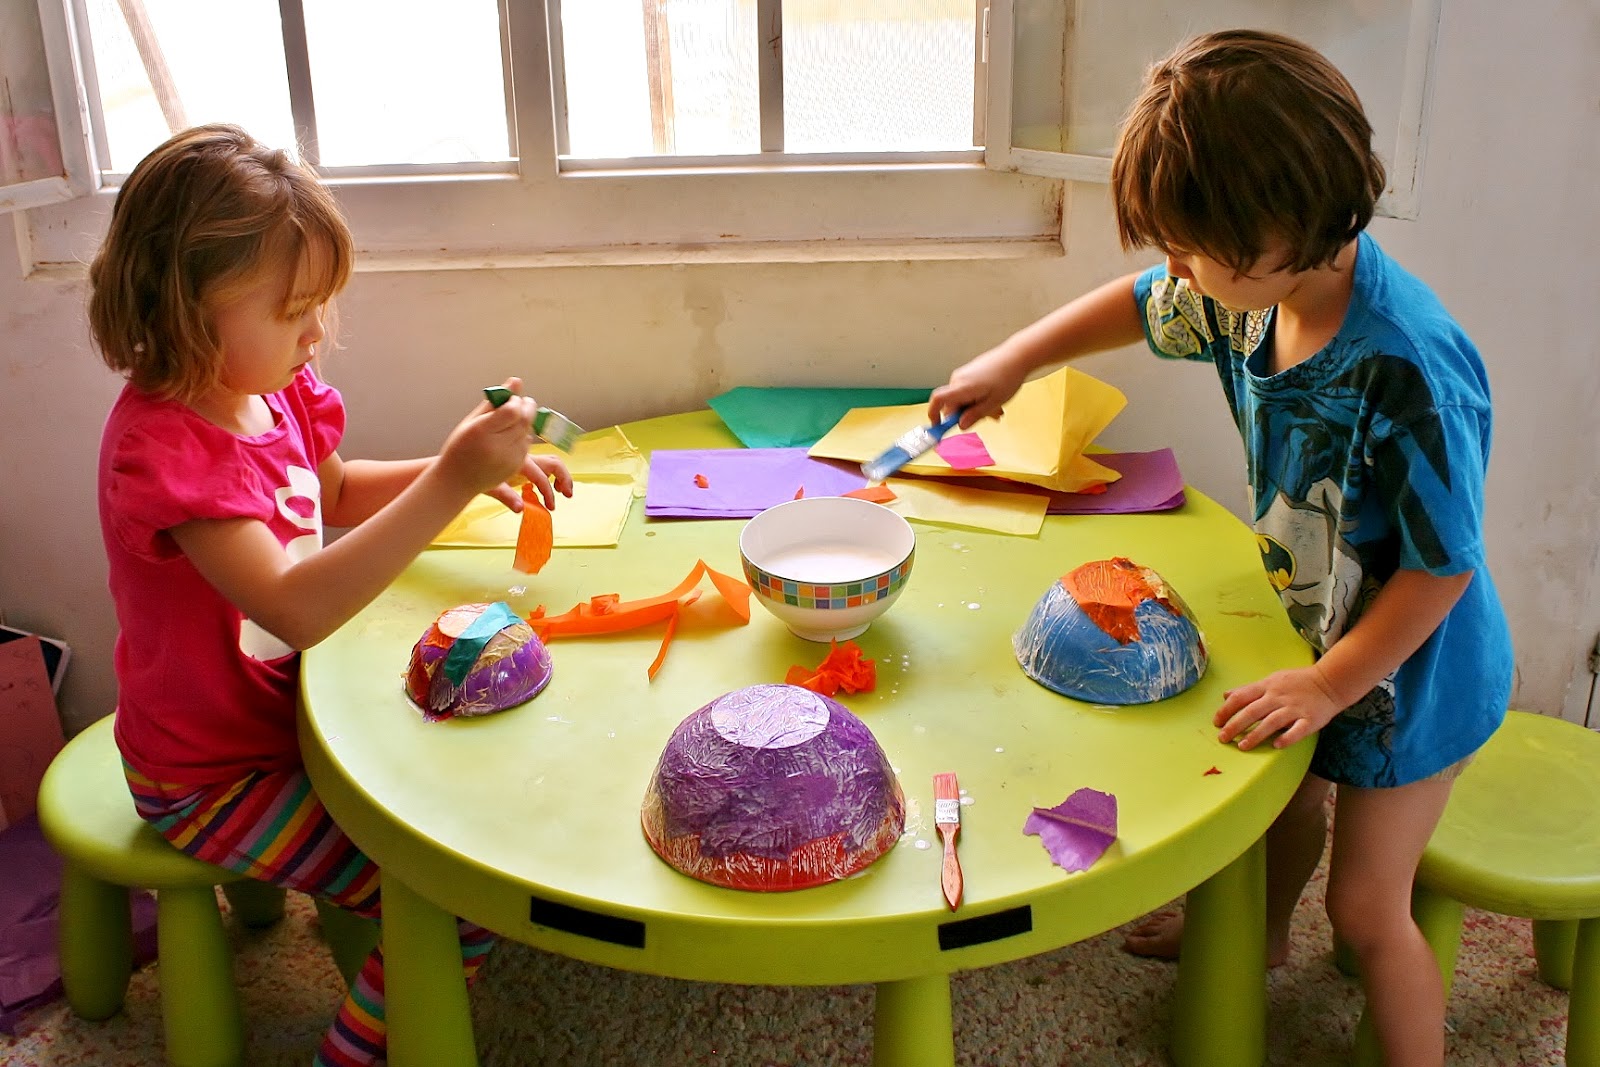
We made tissue paper bowls. I just followed the exact directions on the link from Pinterest. It worked out pretty well. The girls had a great time making them.
Bella made the smallest bowl. I think I removed it from the actual bowl a little too early. (I'm impatient.) I think that is why it looks a little wonky. But, it still functions the same. Hers was also the easiest to remove from the actual bowl. Maybe next time I will spray the cooking spray on the actual bowl before and after I put the plastic wrap on.
Emily made a little bigger bowl. I had to keep reminding both of the girls to make sure to put the tissue paper around the entire bowl, not just on one area. She can now store all her treasures in a bowl that she made.
And, what kind of person would I be if I didn't join in on the fun? So, I made a bowl too. It ended up in Bella's possession. She likes to "store" things everywhere. Bags, boxes, bowls, etc are right up her alley. She has tons of little things to put inside of something.
Here are all of the bowls side by side. The smaller the bowl you uses, it seems the easier to remove once it is dry. Mine, the largest, was a bit tricky. I ended up having to cut down on the sides a bit because when I removed it, it tore a little. Just wanted to throw out that advice.
Maybe you can try it out for yourself! Have fun! We did.
We made tissue paper bowls. I just followed the exact directions on the link from Pinterest. It worked out pretty well. The girls had a great time making them.
Bella made the smallest bowl. I think I removed it from the actual bowl a little too early. (I'm impatient.) I think that is why it looks a little wonky. But, it still functions the same. Hers was also the easiest to remove from the actual bowl. Maybe next time I will spray the cooking spray on the actual bowl before and after I put the plastic wrap on.
Emily made a little bigger bowl. I had to keep reminding both of the girls to make sure to put the tissue paper around the entire bowl, not just on one area. She can now store all her treasures in a bowl that she made.
And, what kind of person would I be if I didn't join in on the fun? So, I made a bowl too. It ended up in Bella's possession. She likes to "store" things everywhere. Bags, boxes, bowls, etc are right up her alley. She has tons of little things to put inside of something.
Here are all of the bowls side by side. The smaller the bowl you uses, it seems the easier to remove once it is dry. Mine, the largest, was a bit tricky. I ended up having to cut down on the sides a bit because when I removed it, it tore a little. Just wanted to throw out that advice.
Maybe you can try it out for yourself! Have fun! We did.
Monday, February 20, 2012
a little more pinterest
Lately I haven't been doing much Pinteresting. I look daily, maybe pinning something here or there. But, I haven't been that invested in it. Unlike how I used to be. Addicted!
But, a while back I found a project that looked pretty easy and interesting. Yesterday, while we were at Home Depot, I found the items needed in order to do the project. Love when that happens!
You just buy some sort of rubber outdoor mat, spray paint, and sand paper.
I forgot to take a picture of the mat before I painted it, but this is the back side of it. The only difference is that this side is flat, where as the other side is rounded.
I sprayed two coats. I'm not sure it was really needed, just thought it was better coverage.
I hung it on the wall and I really like the results.
I needed something over that chair and this fits perfectly.
It sort of looks like a metal grate. Take a closer look. Mine doesn't look as metally as the one that I pinned. I think I might go at it with the sand paper again.
I'm thinking about buying more and cutting out parts of the mat. The kitchen is painted now and I need some wall decoration for it. I think this might be a good solution.
*** 10 minute later update ***
I sanded it a bit more and it does look better! Take a look.
I guess I was just nervous about sanding too much paint off. I needed to just go for it and do it. I think this looks cool!
But, a while back I found a project that looked pretty easy and interesting. Yesterday, while we were at Home Depot, I found the items needed in order to do the project. Love when that happens!
You just buy some sort of rubber outdoor mat, spray paint, and sand paper.
I forgot to take a picture of the mat before I painted it, but this is the back side of it. The only difference is that this side is flat, where as the other side is rounded.
I sprayed two coats. I'm not sure it was really needed, just thought it was better coverage.
I hung it on the wall and I really like the results.
I needed something over that chair and this fits perfectly.
It sort of looks like a metal grate. Take a closer look. Mine doesn't look as metally as the one that I pinned. I think I might go at it with the sand paper again.
I'm thinking about buying more and cutting out parts of the mat. The kitchen is painted now and I need some wall decoration for it. I think this might be a good solution.
*** 10 minute later update ***
I sanded it a bit more and it does look better! Take a look.
I guess I was just nervous about sanding too much paint off. I needed to just go for it and do it. I think this looks cool!
Monday, February 13, 2012
hello, again
There are some weeks when nothing seems worth blogging about. Or, life starts getting crazy and I seem to not want to make time to post something.
Last week my work load was a bit heavy due to our month closing. Every month I deal with end of month, but last week was particularly crazy! Hey, that is job security, right? I can't complain!
And, I have been trying to eat a bit better and started using the Wii Fit, again. I am bound and determined to lose some weight. Baby steps...
But, today I did something that I thought I would share with all of you.
I was laying in bed last night and was thinking about making Colbie (our dog) a dog house. And then an idea popped into my head! I could use one of the totes that we have laying around to make him one. Hey, he is a chihuahua. Definitely small enough to fit into a tote.
So, that is exactly what I did today. I cut a hole in the side to form a doorway.
And, since I was putting his electric bed inside, I cut a hole in the back for the cord.
We have been having some crazy weather that past few days. My lovely friend, Leslie, says they call this month Febrero Loco (crazy February). We have been here 4 years now and I haven't ever experienced this crazy weather before. It usually doesn't rain at all this month, but it has been raining the past 3 days. Today is the first day that it has been dry. These clouds look like they could rain on or dry day. I hope they just pass on through.
And, because Colbie is oh-so-smart, he drags his blankets out and lets them all get wet. So, I am drying his blankets for him. I'm sure he will appreciate the dry days.
If you were curious, Colbie is a fan of Hello Kitty, too!
Last week my work load was a bit heavy due to our month closing. Every month I deal with end of month, but last week was particularly crazy! Hey, that is job security, right? I can't complain!
And, I have been trying to eat a bit better and started using the Wii Fit, again. I am bound and determined to lose some weight. Baby steps...
But, today I did something that I thought I would share with all of you.
I was laying in bed last night and was thinking about making Colbie (our dog) a dog house. And then an idea popped into my head! I could use one of the totes that we have laying around to make him one. Hey, he is a chihuahua. Definitely small enough to fit into a tote.
So, that is exactly what I did today. I cut a hole in the side to form a doorway.
And, since I was putting his electric bed inside, I cut a hole in the back for the cord.
We have been having some crazy weather that past few days. My lovely friend, Leslie, says they call this month Febrero Loco (crazy February). We have been here 4 years now and I haven't ever experienced this crazy weather before. It usually doesn't rain at all this month, but it has been raining the past 3 days. Today is the first day that it has been dry. These clouds look like they could rain on or dry day. I hope they just pass on through.
And, because Colbie is oh-so-smart, he drags his blankets out and lets them all get wet. So, I am drying his blankets for him. I'm sure he will appreciate the dry days.
If you were curious, Colbie is a fan of Hello Kitty, too!
Subscribe to:
Posts (Atom)